How to Design a Stylish Business Card in Photoshop
Written By
In this tutorial I would like to show you how to design a stylish business card in Photoshop. This business card is quite simple but looks clean and attractive. You will learn how to create vibrant background with popular light effects, also you will see how to create attractive button for your business or website name. Hope you will learn new techniques and gain more Photoshop skills that will help you in future projects.
Preview
Click on the image below to see the work in full scale.


Tutorial Resources
Font: Bebas Neue
Download Source File
wdf-business-card.zip (2,4 MB)
Step 1: Create a new document
Open a new Photoshop document that is 3,75 x 2,25 inches. Make the resolution 300 pixels per inch and set the color mode to 8-bit CMYK. A typical business card is 3.5 x 2 inches but to optimize the card for printing, there needs to be a quarter of an inch space along each edge called a bleed. Whatever is located in this area will not be shown in the final print.

Step 2: Add guidelines
We will use guides to know where to place business card elements. We’ll add edge and bleed area guides. To add guides select View -> New Guide… and add following guides: vertical 0.125 in (left) and 3.625 in (right), horizontal 0.125 in (top) and 2.125 in (bottom).
Note: you must change your measurement from Pixels to Inches.

Step 3: Background
Now we are going to create background using some different tools. At first create a new group (Go to Layer > New > Group…) called Background. Then click twice on your background layer and unlock it. After that set foreground color to dark purple #18142B and using Paint Bucket Tool (G) fill your document.

Now go to Filter > Noise > Add Noise… and set Amount to 0,8%, Distribution to Uniform and check Monochromatic if unchecked.

Now click right mouse button on Background layer name and select Blending Options… then apply following option.


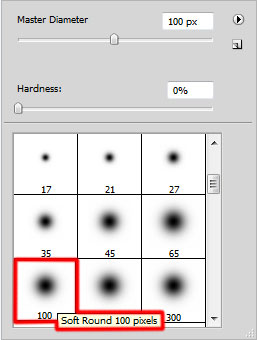
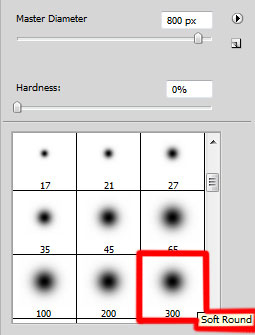
Create a new layer (Shift+Ctrl+N) and name it Stripe. After that change foreground color to white #FFFFFF and pick Brush Tool (B). Then load Basic Brushes set and choose Soft Mechanical 500 pixels size brush. Now click once on your background.

Pick Rectangular Marquee Tool (M) and make selection half of all document and after that delete selected area.

Now click Ctrl+T and rotate your shape as shown on the example below.

Now set blending mode to Overlay and reduce Opacity to 15%. An example shown on the picture below.

Click Ctrl+J to make a copy while Stripe layer is selected and move it to the right. After that make another stripe copy. An example shown on the picture below.

Create a new layer (Shift+Ctrl+N) and name it Light. Then pick Brush Tool (B) again and make the 500 pixels size circle using Soft Mechanical brush. After that set blending mode to Overlay.

Step 4: Front side
Now minimize Background group by clicking small grey arrow next to the group’s name. Then create a new group (Layer > New > Group…) called Front. Make sure that Front group is placed above the Background group. After that create a new layer (Shift+Ctrl+N) called Button and choose Rounded Rectangle Tool (U), set Radius to 1 mm and draw a button as shown on the example below.

Now click right mouse button on Button layer name and select Blending Options… after that apply following options.


Now pick Horizontal Type Tool (T), choose 100 px size Bebas Neue font and write your website name. An example shown on the picture below.

Now click right mouse button on text layer and select Blending Options… after that apply following options.


Create a new layer (Shift+Ctrl+N) and name it Go button. After that hold Ctrl button and click on Button layer thumbnail to make a selection. Then click on Go button layer to make it active and select Rectangular Marquee Tool (M). Now holding Alt button select more than half of left main button.

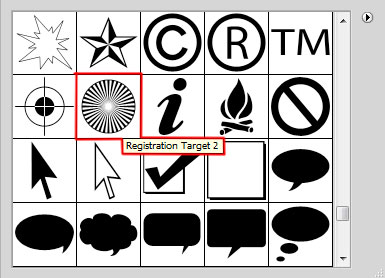
Fill the selection with any color using Paint Bucket Tool (G). After that choose Custom Shape Tool (U) and load Arrows set. Then select Arrow 12 shape and draw it as shown on the picture below.
Now click Ctrl+T and rotate your shape by -180 degrees.
Hold Ctrl button and select Go button and arrow layers and click right mouse button on them. After that choose Merge Layers. You should have only one layer containing Go button and arrow. Click right mouse button on it and choose Blending Options… and apply following options.


Now pick Horizontal Type Tool (T), choose Bebas Neue 100 px size font and write “GO”. Then click right mouse button on text layer and select Blending Options… after that apply following options.


Create a new layer (Shift+Ctrl+N) called Noise. After that hold Ctrl button and click on Button layer thumbnail to make a selection. Then fill the selection with black #000000 and go to Filter > Noise > Add Noise… and set Amount to 1,5%, Distribution set to Uniform and check Monochromatic.

Now set Noise layer’s blending mode to Soft Light.

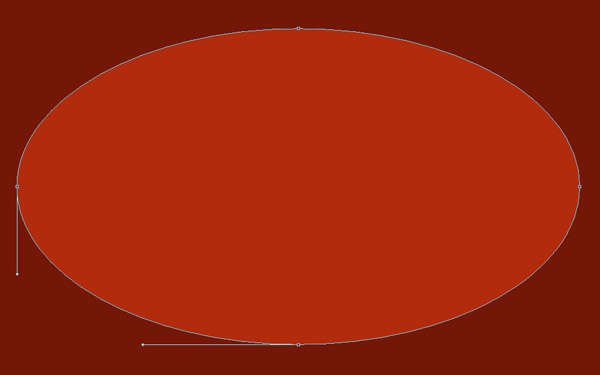
Create a new layer (Shift+Ctrl+N) called Shadow. Then set foreground color to black #000000 and pick Ellipse Tool (U). After that draw a thin ellipse as shown on the picture below.

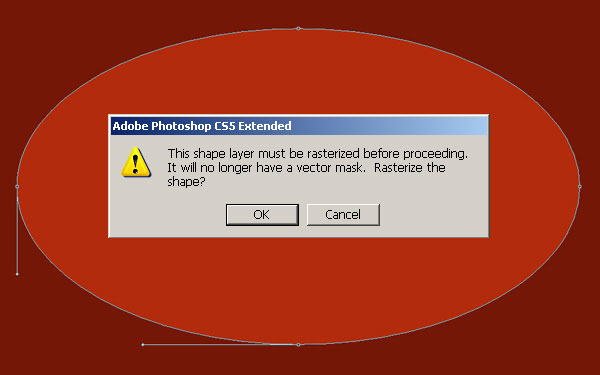
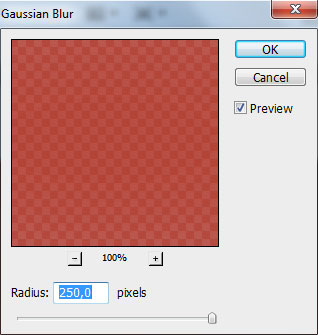
Now go to Filter > Blur > Gaussian Blur… (Photoshop will ask if you want to rasterize the shape then click OK). After that set Radius to 4 pixels and finally reduce Shadow Opacity to 40%.

Step 5: Back side
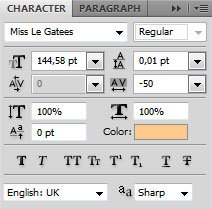
Minimize Front group by clicking a small grey arrow next to the group name. After that hide group by clicking on the eye icon on the left side. Then create a new group (Layer > New > Group…) called Back. Now pick Horizontal Type Tool (T), choose Bebas Neue 140 px size font and write your website name or address.

Now click right mouse button on previous created text layer and choose Blending Options… after that apply following options.


Now add more text to your business card and apply the same blending options as used for the previous text like website name.

Finally create a new layer (Shift+Ctrl+N) called Shadow and place it below your name and profession layers. Then set foreground color to black #000000 and pick Ellipse Tool (U). After that draw thin ellipse under your occupation text as shown on the example below.

Now go to Filter > Blur > Gaussian Blur… (click OK to rasterize your shape) and set Radius to 4 pixels. Then reduce Shadow Opacity to 40%.


Congratulations! We have finally done our business card. In this tutorial you have seen few popular techniques used such as noise filter, light stripes and various blending options. Hope you find this useful. I would really appreciate if you left a comment about this tutorial and of course about the final result.